Back to articles
How to Edit Audio Recordings for Pro Sound

So, you’ve got your raw audio recorded. What now? The whole process really just boils down to a few key stages: cleaning up the track, shaping its tone, controlling the dynamics, and then getting it ready for the world. If you can nail this sequence, you can turn pretty much any rough take into a polished, professional-sounding song.
Your Starting Point for Clean Audio Edits
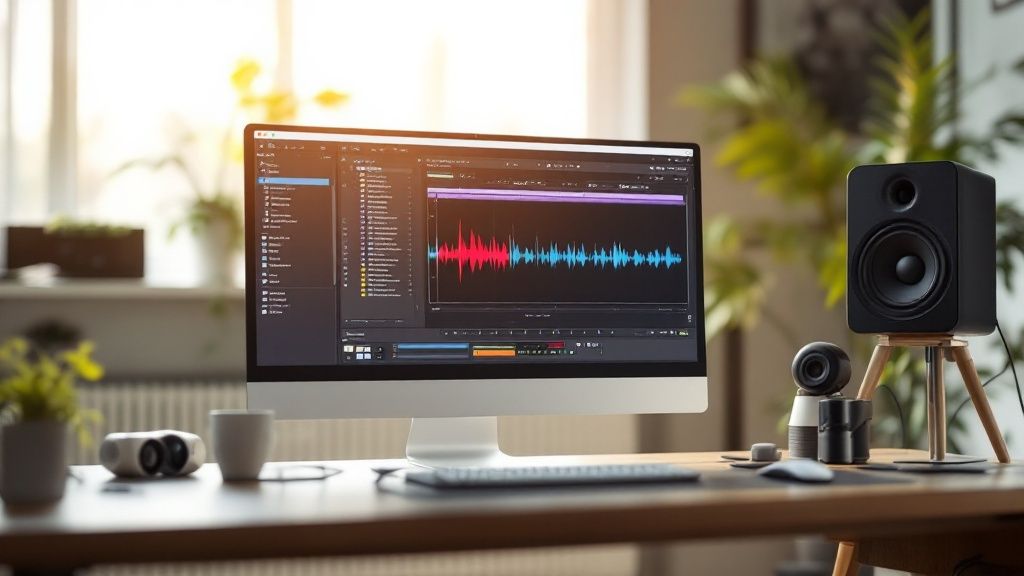
Looking at a raw, unedited audio file for the first time can be a little intimidating. But trust me, the path from that messy waveform to a clean, pro-sounding track is more straightforward than you think. It all starts with creating a clean canvas to work on. Get this part right, and everything that comes after—EQ, compression, effects—becomes so much easier and more effective.
Organize Your Project from the Start
Before you even touch an effect, get your session in order. I’m talking about creating a dedicated folder for your project and neatly importing all your audio files. It sounds almost too simple to mention, but a tidy project will save you from major headaches down the line, especially when you start juggling multiple vocal takes or layering instruments.
A clean track is the foundation for everything else. The lyrics you spent time crafting deserve a vocal performance that's primed and ready for that studio shine.
Think of it like this: you wouldn't start painting on a dirty canvas. The same principle applies to audio. Trimming silence, cutting out coughs or false starts, and removing obvious mistakes first is non-negotiable for a clean mix.
If you want to go deeper on this, there’s a comprehensive guide on how to edit a podcast that’s worth a read. Even though it's aimed at podcasters, the core principles of cleaning and prepping audio are exactly the same for music.
Set Your Audio Levels Correctly
Once your track is trimmed and organized, the next big thing is to get your levels right. This is often called gain staging, and it's all about making sure your audio isn't too quiet (which forces you to boost it later, bringing up noise) or too loud (which causes nasty digital distortion, or "clipping").
Here are a few tips from my own experience:
Aim for peaks around -6 dB. This gives you plenty of headroom to work with when you start adding processors like EQ and compression. You won't have to worry about unexpectedly clipping your signal.
Listen, don't just look at the meters. Your ears are your best tool. Find a volume that sounds consistent, where the loudest parts are clear but not harsh.
Use volume automation to even things out. If you have words or phrases that are way quieter than others, don't just slam a compressor on it. Use a little volume automation to gently raise those parts first. It sounds much more natural.
Remember, the quality of your raw recording matters just as much as your editing skills. A great song starts with great lyrics, and the right tools can help you get there faster.
Removing Unwanted Background Noise
Nothing kills a killer vocal take faster than unwanted background noise. That subtle hiss from your interface, the low-end hum from a computer fan, or even just the sound of the room you recorded in—it all adds up and can make a powerful performance sound amateur. Dealing with this stuff is one of the first things you learn when you're figuring out how to edit audio recordings, and it makes all the difference.
The whole point is to get your recording to sound clean and clear, so those lyrics you spent hours on can actually be heard. This isn't about making things sterile or unnatural; it's about getting rid of the distractions so your voice can be the star of the show.
Before you even touch a noise reduction plugin, getting your project organized is half the battle. A clean workflow from the start saves a ton of headaches later.
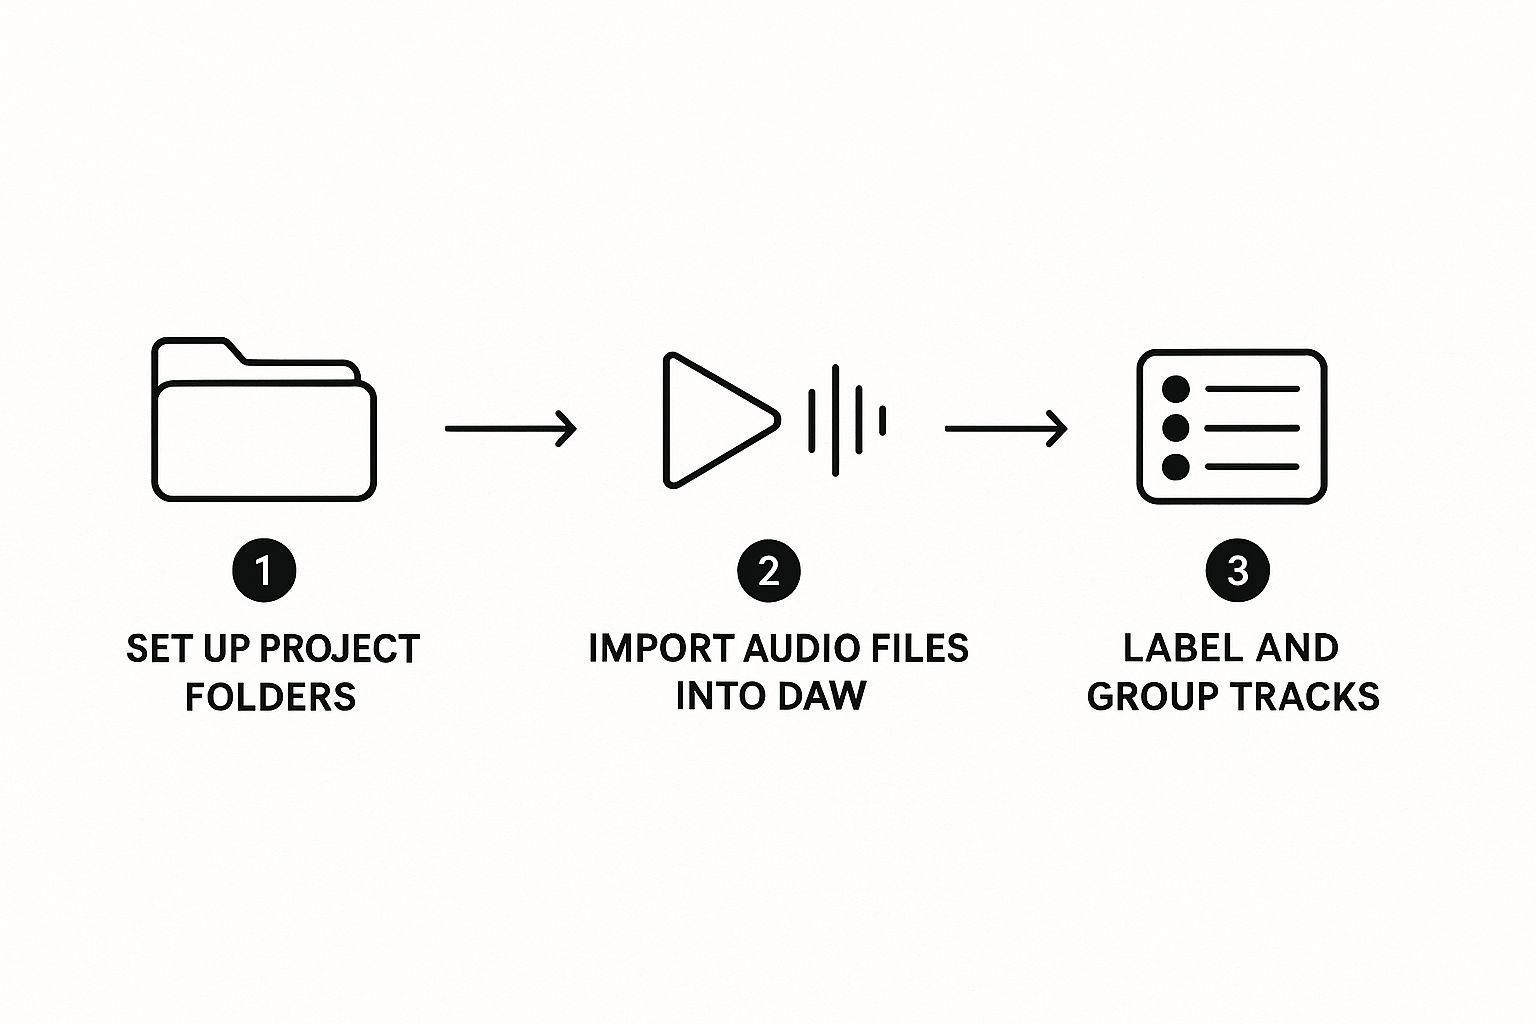
Starting with a tidy session like this makes everything, from noise removal to the final mix, so much easier to manage.
Using a Noise Gate for the Gaps
Let's say you recorded a vocal track in your bedroom. In the silent spaces between your lines, the mic picks up everything—the air conditioner, traffic outside, you name it. A noise gate is your best friend here. Think of it as an automated mute button that clamps down on the audio whenever it drops below a certain volume.
Set the Threshold: You want to find that sweet spot where the gate cuts out the background noise but doesn't touch your actual vocals, even the quietest parts.
Tweak Attack and Release: A fast attack lets your voice through instantly. A slightly slower release prevents the gate from cutting off the natural tail end of your words too abruptly.
It’s a simple trick, but it's incredibly effective for cleaning up those moments of silence in a performance without messing with the vocal itself.
Dealing With Constant Hiss or Hum
But what if the noise is baked into the entire recording? A constant, low-level hiss is a classic problem, especially with entry-level gear. For this, a noise gate won't work. You need a dedicated noise reduction tool.
The secret to good noise reduction is to be gentle. If you go too far, you’ll suck the life right out of your recording and end up with a weird, watery, robotic sound. The goal is to reduce the noise, not obliterate it at the expense of your performance.
Most of these tools work by taking a "fingerprint" of the noise. You find a spot in your recording with just the hiss, let the plugin analyze it, and then it knows what to subtract from the rest of the track. Don't be aggressive. Pulling the noise down by 6 to 12 dB is often more than enough to clean things up without creating nasty side effects.
Once your tracks are clean, you can get back to the fun part—creating. If you need a spark of inspiration, Download Lyric Studio free on iOS (https://apps.apple.com/us/app/lyric-studio-rap-rhyme-maker/id1600316328) and let its AI-driven lyric suggestions help you build your next song on a rock-solid, noise-free foundation. (Note: in-app purchases may apply).
Using EQ to Shape and Clarify Your Sound

Think of equalization (EQ) as a sculptor's chisel for your sound. It's the tool you'll use to carve out space for each element in your mix, ensuring everything is heard clearly. A dull, muddy vocal can instantly become the star of the show with just a few smart EQ adjustments.
Let's dive into how you can use time-tested techniques to make your tracks shine.
Where to Start with Vocal EQ
Every voice is different, but most vocal recordings run into the same few problems. The first step is learning to identify them by ear.
A common issue is a "boxy" or "muddy" sound, which usually lives in the low-mid frequencies around 200–500 Hz. Cutting a bit in this range can clean things up dramatically. On the flip side, if a vocal feels dull and lacks life, a gentle boost in the upper frequencies—somewhere around 8–12 kHz—can add that professional-sounding "air" and presence.
The golden rule I always follow? Cut before you boost. It's almost always better to remove problematic frequencies than to crank up others. This approach helps you avoid introducing new noise and keeps the sound more natural.
Here's a quick cheat sheet for some of the most common vocal EQ moves. Think of this as a starting point—always let your ears be the final judge.
Common EQ Adjustments for Vocals
Frequency Range | Description | Common Action (Cut/Boost) | Effect on Sound |
|---|---|---|---|
Below 80 Hz | Unwanted Rumble & Plosives | Cut (High-Pass Filter) | Removes low-end noise you can't hear but that eats up headroom. |
200–500 Hz | Mud & Boxiness | Cut | Creates clarity and prevents the vocal from sounding muffled or cheap. |
2–4 kHz | Nasal Honk & Harshness | Cut | Smooths out an aggressive or piercing vocal tone without losing presence. |
5–7 kHz | Sibilance ("sss" sounds) | Cut (with a De-esser or narrow EQ) | Tames harsh "s," "sh," and "t" sounds that can be grating. |
8–12 kHz | Air & Brightness | Boost | Adds a sense of space, detail, and professional polish. |
These ranges are your playground. Experimenting within them will help you develop an instinct for what your track needs.
Putting EQ to Work in a Real Mix
I was recently working on a track where the vocal felt completely lost behind a chunky acoustic guitar. They were both fighting for the same space in the mix. Instead of just turning the vocal up, I pulled up an EQ on the guitar and scooped out a generous 5 dB right at 300 Hz.
The change was instant. The vocal popped right into the foreground, clear as day, without me ever touching its volume fader.
That's the magic of subtractive EQ. Often, the best way to make something sound louder is to make something else quieter in just the right spot.
A Few More Pro Tips:
Filter Out the Junk: Use a high-pass filter to cut everything below 80 Hz on your vocal track. You won’t hear much down there besides mic stand rumble and breath pops, and removing it frees up valuable energy in your mix.
Be Surgical: When two instruments are clashing—say, a piano and a vocal both have a lot of energy at 1 kHz—try making a small, narrow cut of just 3 dB on one of them. This small move can be enough to let both be heard distinctly.
Don't Go Overboard: Big boosts or cuts (more than 6 dB) can start to sound unnatural and phasey. If you find yourself needing to do that much, there might be a deeper issue with the original recording.
Smart EQ Starts Before the Mix
Crafting a great track starts with great lyrics. Lyric Studio gives you a massive head start with genre and mood customization for hip-hop, pop, R&B, and more. When you write lyrics tailored to a specific style, your vocal performance naturally fits the sonic profile of the genre, making the EQ process smoother and more intuitive.
Genre-Specific EQ Moves
Different genres have their own sonic signatures, and your EQ choices should reflect that.
Hip-hop: Vocals often benefit from a bit more body and warmth. Try a gentle low-shelf boost around 100 Hz to give the voice weight and authority.
Pop: Clarity is king. A clean cut in the low-mids combined with a high-shelf boost for air and sparkle is a classic pop vocal recipe.
R&B: This genre is all about smooth, rich midrange. Focus on making the vocals warm and present without being harsh, paying close attention to the 1-3 kHz range.
The world of audio editing software is vast, with major players like Avid Technology's Pro Tools and Steinberg's Cubase dominating professional studios. Meanwhile, tools like FL Studio have become favorites for independent creators thanks to their intuitive workflows. Understanding the tools available can help you build a powerful and efficient setup.
When you're ready to polish your next track, remember that EQ isn't just a final touch-up—it’s fundamental to shaping your sound.
You can download Lyric Studio for free on iOS to start experimenting with these techniques right away.
Getting Your Levels Just Right with Compression
Ever recorded a vocal that sounded great in the verse but then jumped out and became way too loud in the chorus? Or maybe a quiet, whispered line gets completely lost once the other instruments kick in? This is exactly what compression is for. It’s the secret sauce for getting that smooth, polished, and consistent vocal level you hear on professional tracks.
Think of a compressor as an intelligent, automated volume knob. It listens to your performance and automatically turns down the loudest parts, which then allows you to bring up the overall volume of the entire track without any nasty distortion. The end result is a vocal that sits perfectly in the mix, ensuring every single word is heard clearly.
Polished audio isn't just a nice-to-have anymore; it's what listeners expect. The market for audio and video editing software was valued at around USD 1.81 billion in 2024 and is on track to hit USD 3.17 billion by 2030. It's no surprise that tools with AI-driven features have seen a 59% adoption rate among creators—we all want to speed up these complex tasks. You can actually dig into these audio editing software market trends to see how tech is changing music production.
The Main Dials to Turn
Getting started with compression can feel a bit technical, but it really just comes down to a few key controls.
Threshold: This is the volume level where the compressor kicks in. Any audio that goes above this point gets turned down.
Ratio: This decides how much the volume is reduced. A gentle ratio like 2:1 is perfect for natural-sounding vocals, while something more aggressive like 4:1 really clamps down on loud parts.
Attack Time: This tells the compressor how quickly to react. A fast attack is great for taming sharp, sudden peaks, while a slower attack lets the initial punch of a word come through before the compression starts.
Here's a solid starting point for vocals: Set a low ratio (around 3:1), a medium attack, and then lower the threshold until you see about 3-6 dB of gain reduction happening on your loudest parts. This will smooth things out without crushing the natural dynamics of your performance.
Using Compression to Add Punch and Character
Compression isn't just for fixing problems; it's a creative tool, too. Want to give your vocal more attitude and make it feel more "in your face"? Try a faster attack time with a higher ratio. This is a classic trick in hip-hop and rock to make a performance feel more aggressive and energetic.
After you’ve used Lyric Studio’s tools like the integrated rhyme and thesaurus features to write the perfect lines, compression is what makes sure they land with impact. It ensures every word you’ve so carefully chosen, from a soft verse to a powerful hook, is delivered with the exact clarity and emotional weight you intended.
Ready to get your vocals sitting perfectly in the mix? Download Lyric Studio free on iOS (https://apps.apple.com/us/app/lyric-studio-rap-rhyme-maker/id1600316328) and start dialing in your sound. Note: in-app purchases may apply.
Finalizing and Exporting Your Track

You’ve made it. After all the careful trimming, EQ tweaking, and dialing in the perfect compression, you're at the finish line. This final step—exporting—is where you bundle all that hard work into the single audio file that people will actually hear.
It's a critical moment. Nailing the export settings means your song sounds exactly as you intended, but getting them wrong can accidentally degrade all the effort you just put in. This is the moment your idea, maybe sparked by the “Magic Draft” feature in Lyric Studio that instantly generates a first verse-and-chorus, becomes a real, polished track ready for the world.
Choosing the Right File Format
You'll mainly be dealing with two file formats: WAV and MP3. Knowing the difference is non-negotiable for any artist.
WAV (Waveform Audio File Format): Think of this as your master copy. It's a completely uncompressed, full-quality file that contains every last bit of audio data. This is what you send to a mastering engineer or upload to distribution platforms like Spotify and Apple Music.
MP3 (MPEG Audio Layer III): This is your sharing copy. It’s a compressed format, which means it cleverly removes bits of audio information your ears probably won’t miss to create a much smaller file. MP3s are perfect for sending demos in an email or for quick online sharing.
Pro Tip: Always, and I mean always, export a high-quality WAV of your final mix first. This is your master archive. From that pristine WAV file, you can then create all the MP3s or other compressed versions you need. Never, ever work backward from an MP3.
Essential Export Settings
Beyond just picking WAV or MP3, a couple of other settings need to be right to ensure your track plays nicely everywhere. For pretty much all modern music distribution, these are the gold standards:
Sample Rate: Set this to 44.1 kHz. It's the standard for CD-quality audio and what the vast majority of streaming services require.
Bit Depth: Choose 24-bit. This gives you a fantastic dynamic range and is the professional standard for mixing and mastering.
Getting these final technical details right is just as crucial as the creative choices you made earlier. A strong foundation in songwriting makes every step of production more effective.
The demand for great-sounding audio has exploded. In fact, the North American audio-video editing software market is on track to represent over 40% of global revenue in 2025, a testament to the sheer volume of creative work happening here.
Ready to make your next track? Grab Lyric Studio and start bringing your ideas to life.
Common Questions from the Editing Trenches
Once you’ve got a handle on the basics of editing audio, the real questions start popping up. You move from "how do I do this?" to "how do I do this better?" Here are a few of the most common hurdles I see artists run into, along with some practical advice to get you that polished sound you're chasing.
What’s the Right Order for Audio Effects?
I always tell people to think: clean, control, then color. Start by cleaning up the audio. That means using a subtractive EQ to carve out any muddy, boomy, or harsh frequencies that are cluttering up the sound. Get rid of the bad stuff first.
Next, you control the dynamics with a compressor. This evens out the loud and quiet parts, making the whole track feel more consistent and glued together. Finally, you add color. This is where you can use an additive EQ to creatively boost frequencies, adding sparkle, warmth, or presence to shape the final tone.
Now, this isn't set in stone. Some engineers swear by EQ-ing after compression to restore any high-end shimmer that the compressor might have tamed. The real secret is to just experiment. Slap them on in a different order and, most importantly, listen to what each change does to the sound.
A good rule of thumb: always fix problems before you start enhancing. A clean, solid recording is your best starting point for a killer mix. You can't boost what isn't there.
How Do I Get My Home Vocals to Sound Less... Like Home Vocals?
It all begins before you even hit record. Find the quietest space you can—a closet packed with clothes is a classic for a reason, as it absorbs all those nasty room reflections. And please, use a pop filter. It's a cheap piece of gear that saves you from those explosive "p" and "b" sounds that can ruin an otherwise perfect take.
Once you're in the editing phase, your focus should be on three things:
Subtle Noise Reduction: Gently dial back any consistent background noise, like a computer fan or an air conditioner hum. Don't overdo it, or you'll get robotic-sounding artifacts.
Surgical EQ: Most home recordings have some muddiness. Try cutting frequencies in the 200-500 Hz range to clean things up. A slight, gentle boost somewhere between 2-5 kHz can also add a nice touch of clarity and presence, helping the vocal cut through the mix.
Light Compression: The goal here is consistency. A touch of compression will tame the loudest parts and lift the quietest ones, ensuring every lyric is heard clearly without sounding squashed.
Of course, a killer vocal performance really comes from having a killer song to sing. When you've got lyrics you believe in, you deliver them with more power and confidence. This is where many of the top songwriting tools available to modern artists can be a total game-changer, helping you lock in the vision before the mic is even on.
WAV vs. MP3: Which One Should I Export?
This is a simple one. Think of it like this: WAV is for your archive, MP3 is for sharing.
A WAV file is the full-resolution, uncompressed master copy. It has every single bit of audio data exactly as you mixed it. This is what you send to streaming services, what you use for professional distribution, and what you keep forever in your project folder. It's the gold standard.
An MP3, on the other hand, is a compressed, smaller file. The compression makes it way easier to email to a collaborator or upload for a quick preview. It's perfect for convenience, but some audio quality is sacrificed to get that small file size.
So, the best practice is always this: export a high-quality WAV as your official master. From that pristine master file, you can easily create MP3s anytime you need a smaller, more portable version.
A truly great song is born long before you ever touch an EQ knob. Lyric Studio becomes your creative assistant, helping you craft more powerful and emotionally resonant songs from scratch. With AI that provides context-aware lyric suggestions and built-in rhyme finders, you can blast through writer's block and write something that inspires an incredible vocal performance—which makes the whole recording and editing process that much easier down the line.
Download Lyric Studio free on iOS. (Note: in-app purchases may apply).

SCAN TO GET